Welcome To our cleaning resources page. Here you’ll find practical tips and service guides for homes and offices in the Seattle area

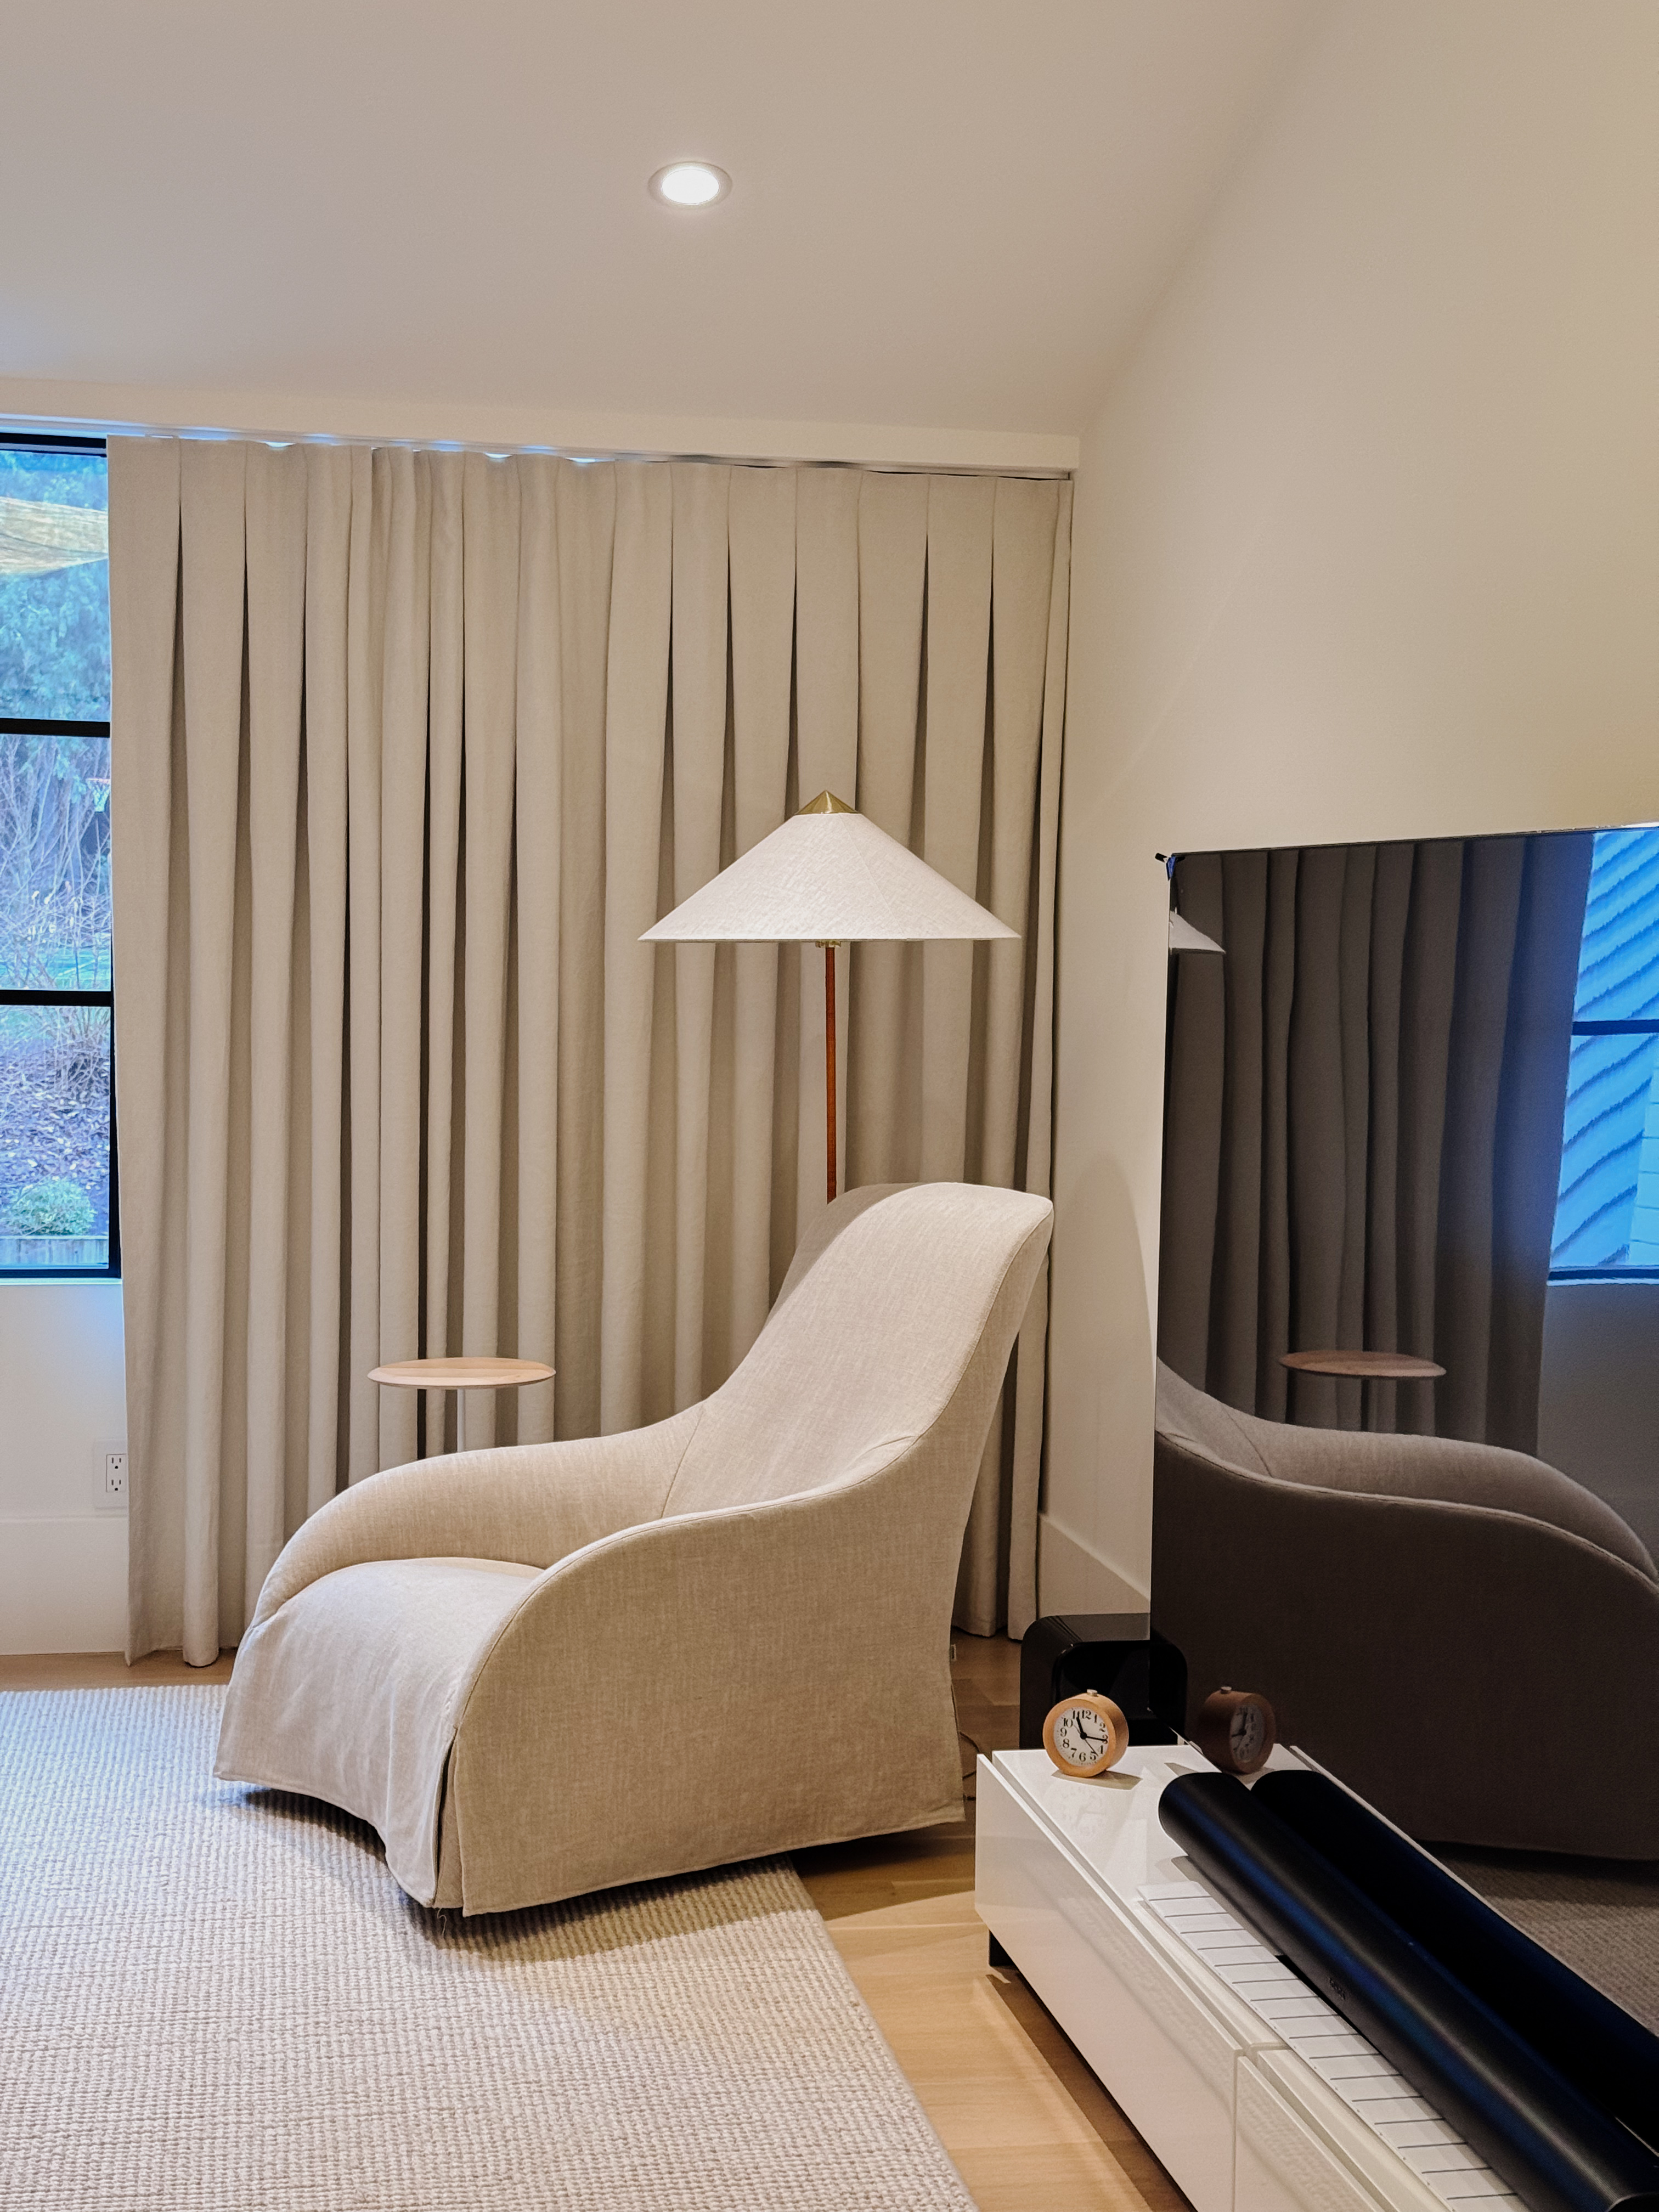
THA House Cleaning provides professional house cleaning services in Seattle to keep your home fresh and spotless year-round. From regular cleaning and deep cleaning to managing moisture and dust common in the Pacific Northwest, our team helps maintain a healthier, more comfortable living space.
Scheduling with THA House Cleaning is a breeze! Find us online—Google, Yelp, Instagram, or Nextdoor. Then call or text for a personalized quote—ask about promotions! Schedule easily via phone, text, website, Yelp, or Nextdoor. On cleaning day, our professional team arrives fully equipped to deliver an outstanding job. Breathe easy—we’ve got this!
Seattle’s climate brings moisture and dust, but simple habits can help you maintain a clean home. Wipe window sills, use a dehumidifier, clean with microfiber cloths, and keep entryways tidy to reduce dirt buildup. Regular and seasonal deep cleaning will keep your Seattle home fresh year-round. And if you ever need extra help, we’re here.

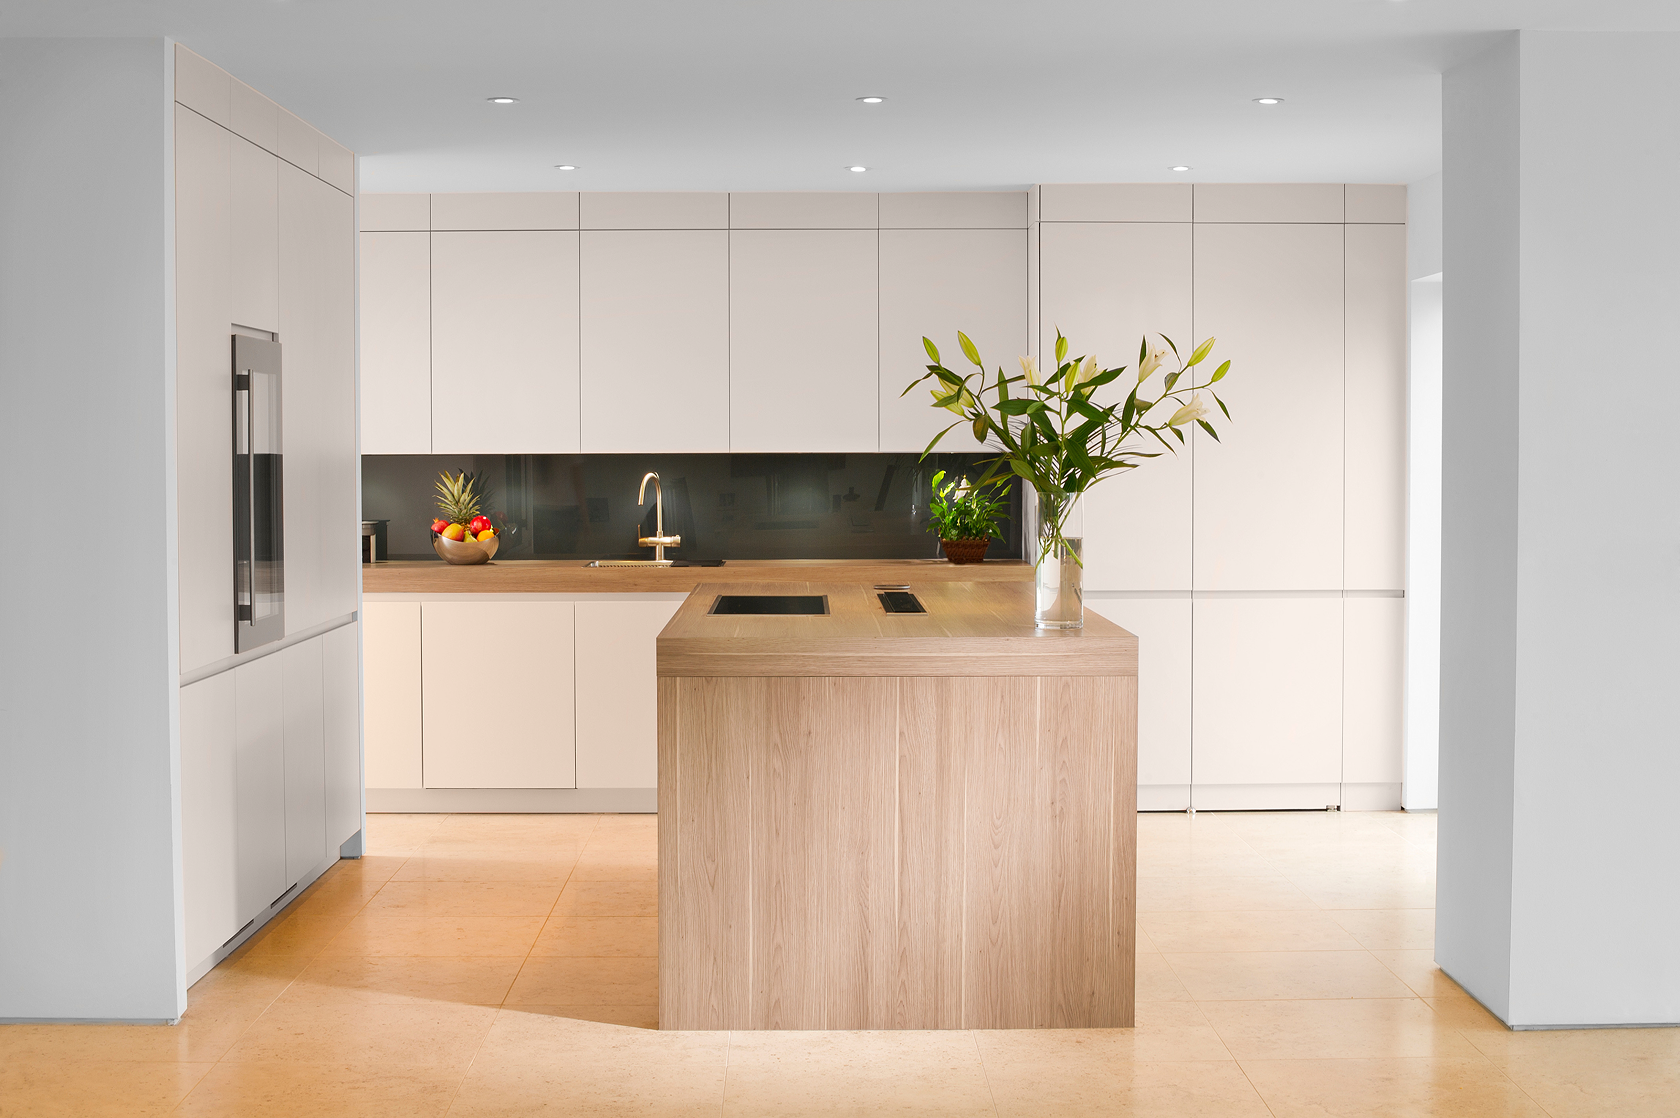
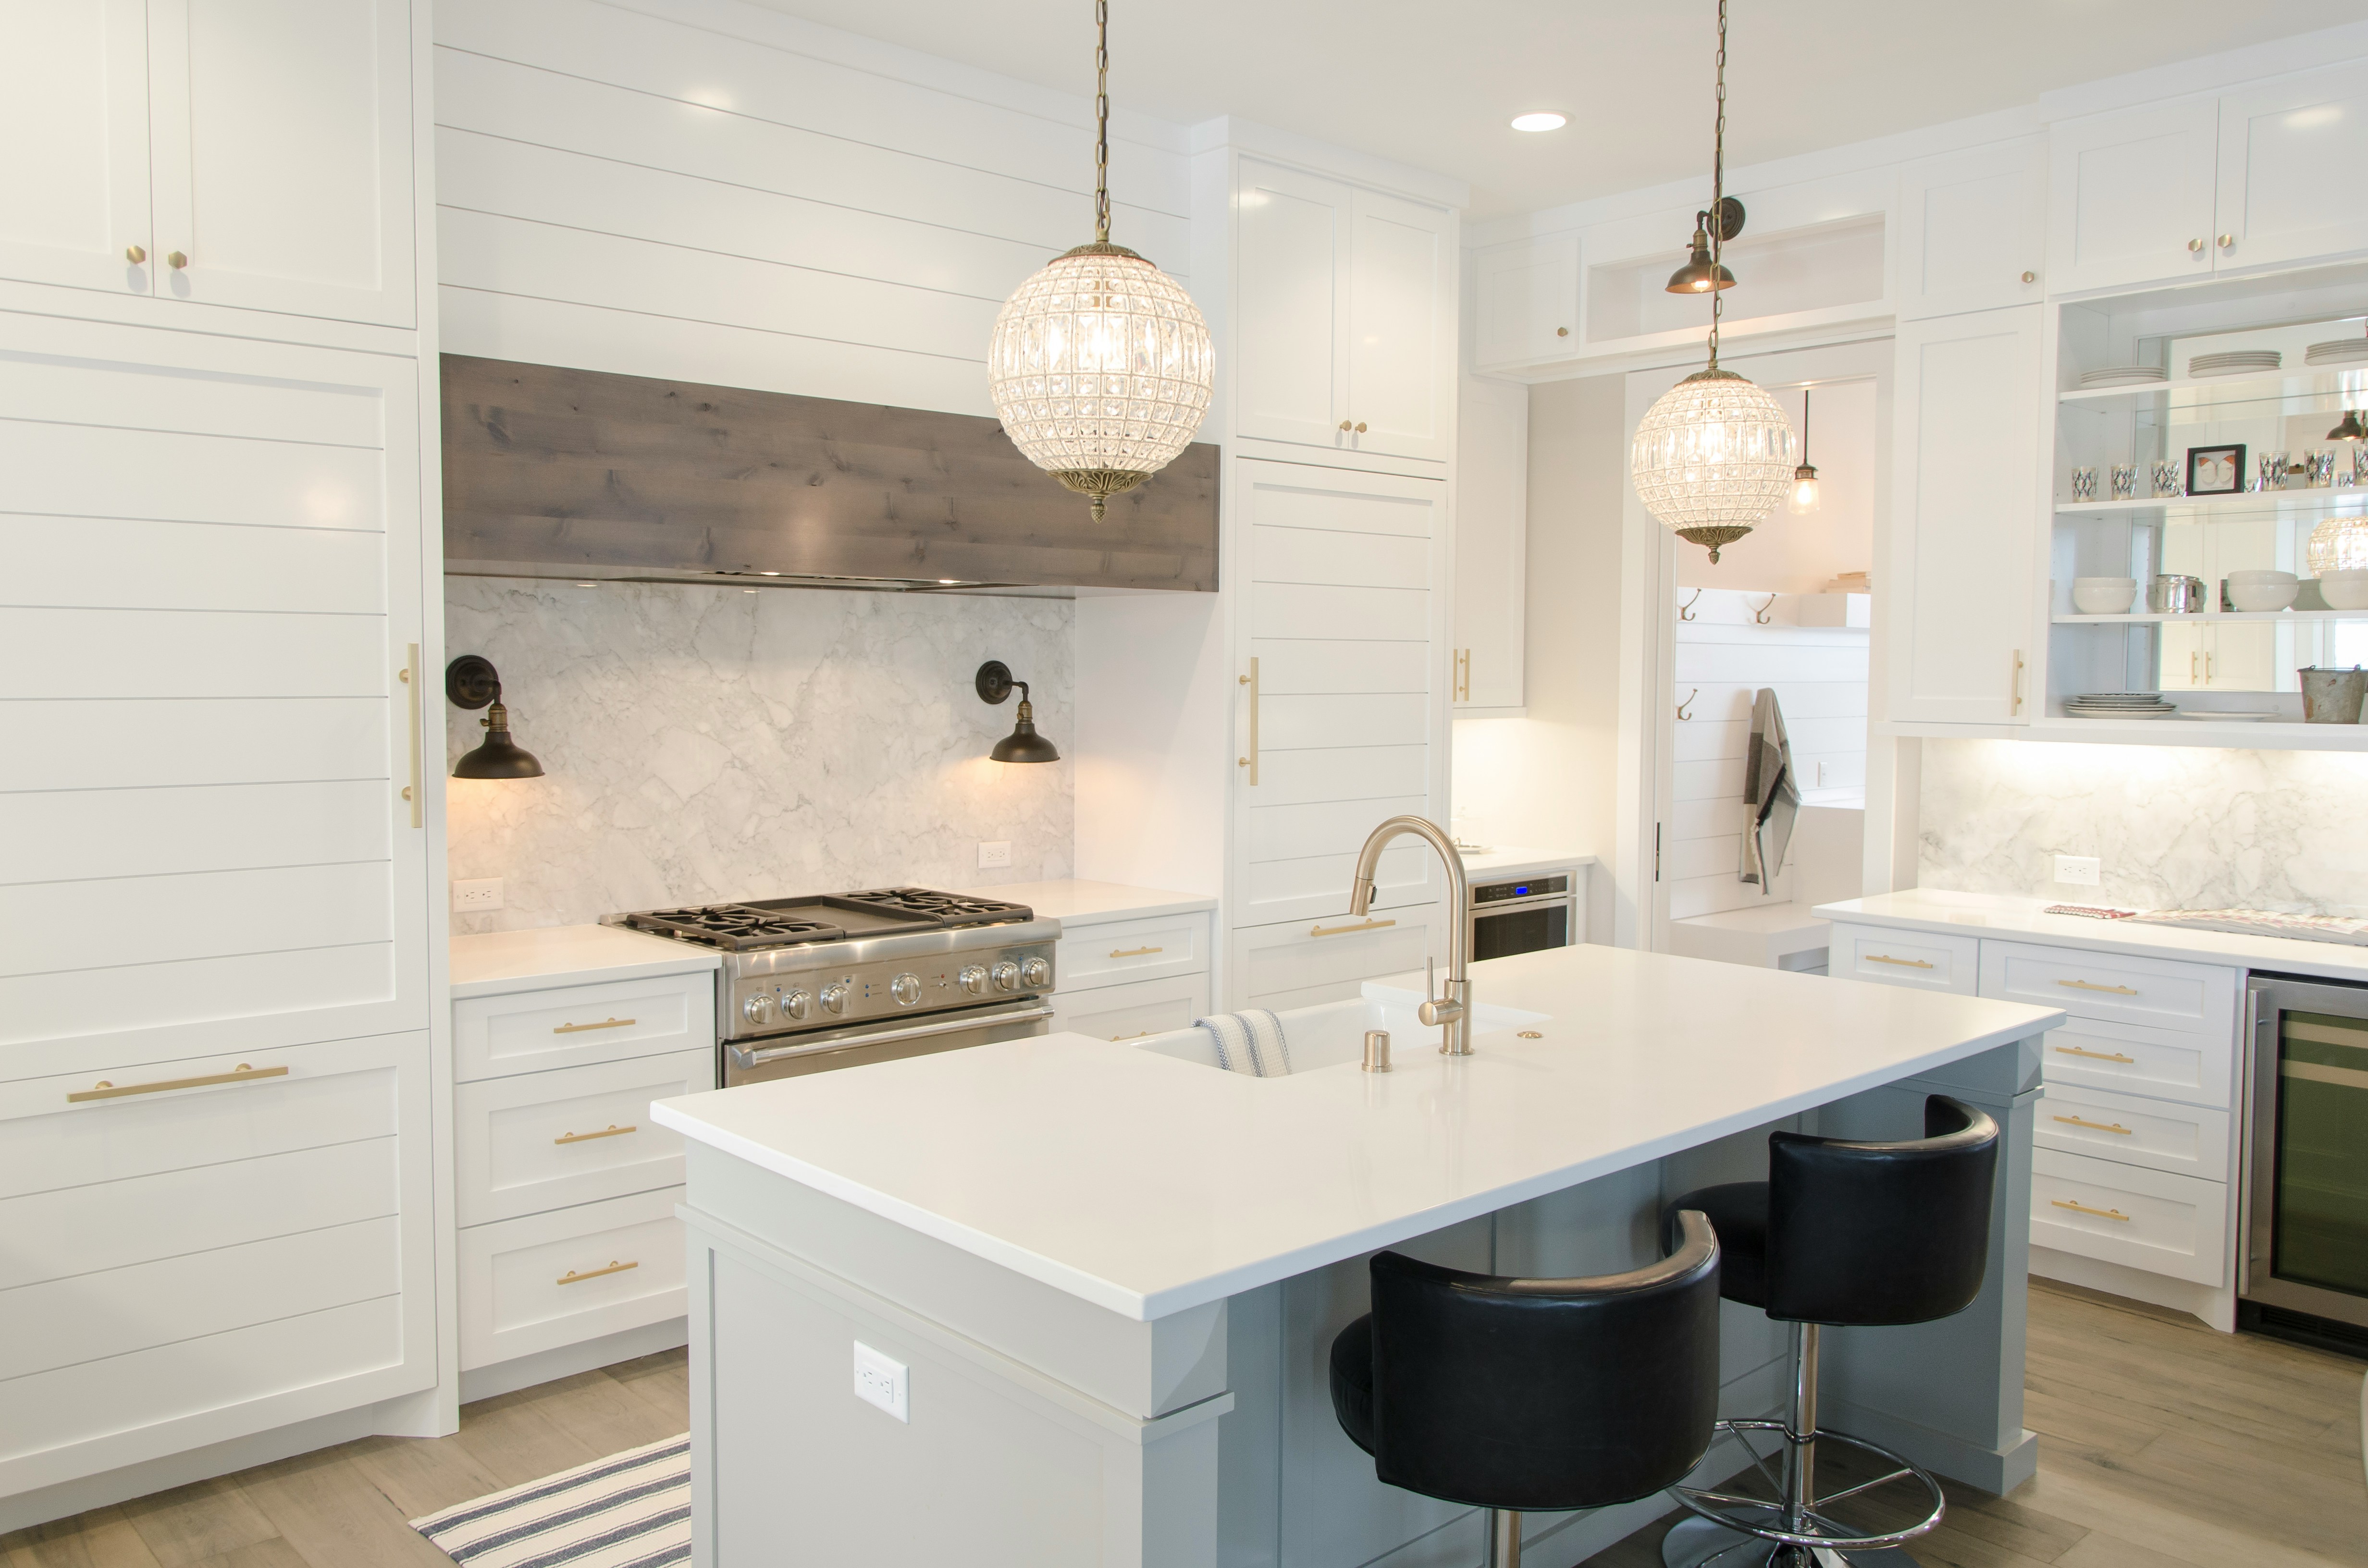
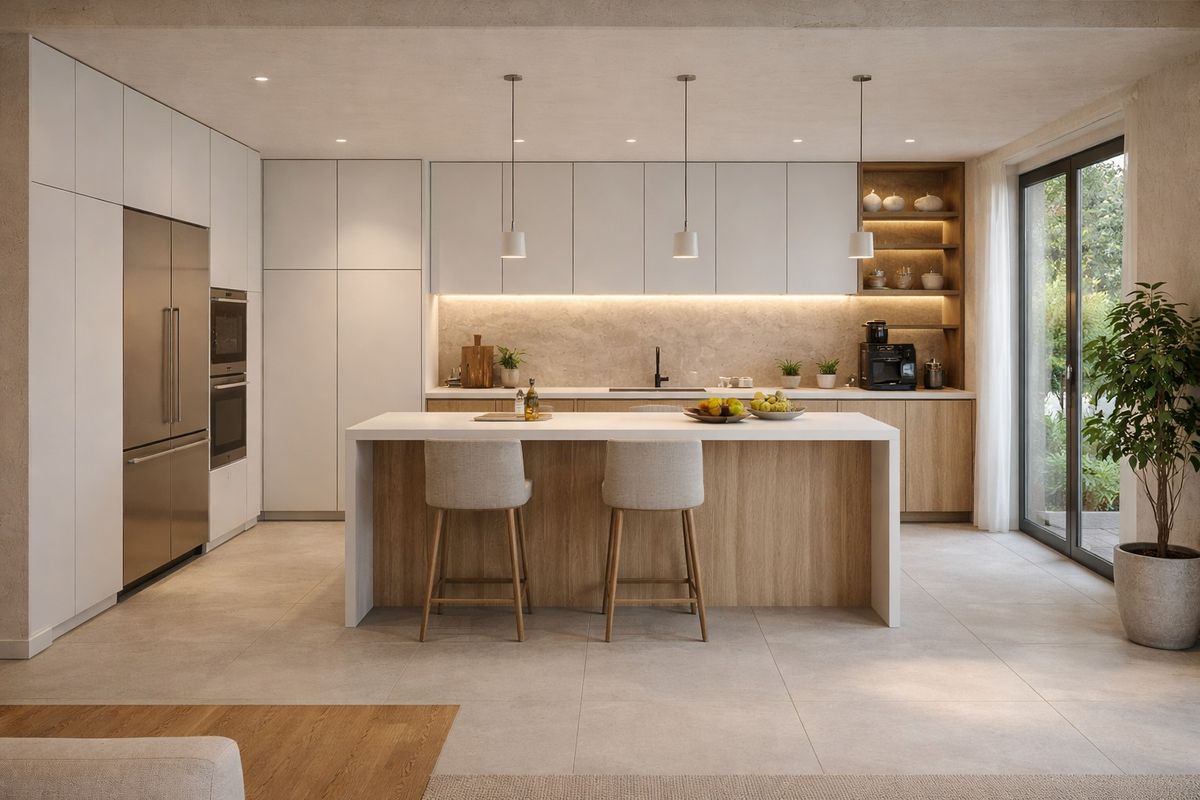
Regular house cleaning in Seattle helps maintain a clean, healthy, and organized home. Most households benefit from weekly or biweekly cleaning services to manage dust, allergens, and everyday buildup. Adding professional deep cleaning for kitchens, bathrooms, and high-traffic areas ensures consistent results and keeps your home fresh year-round.

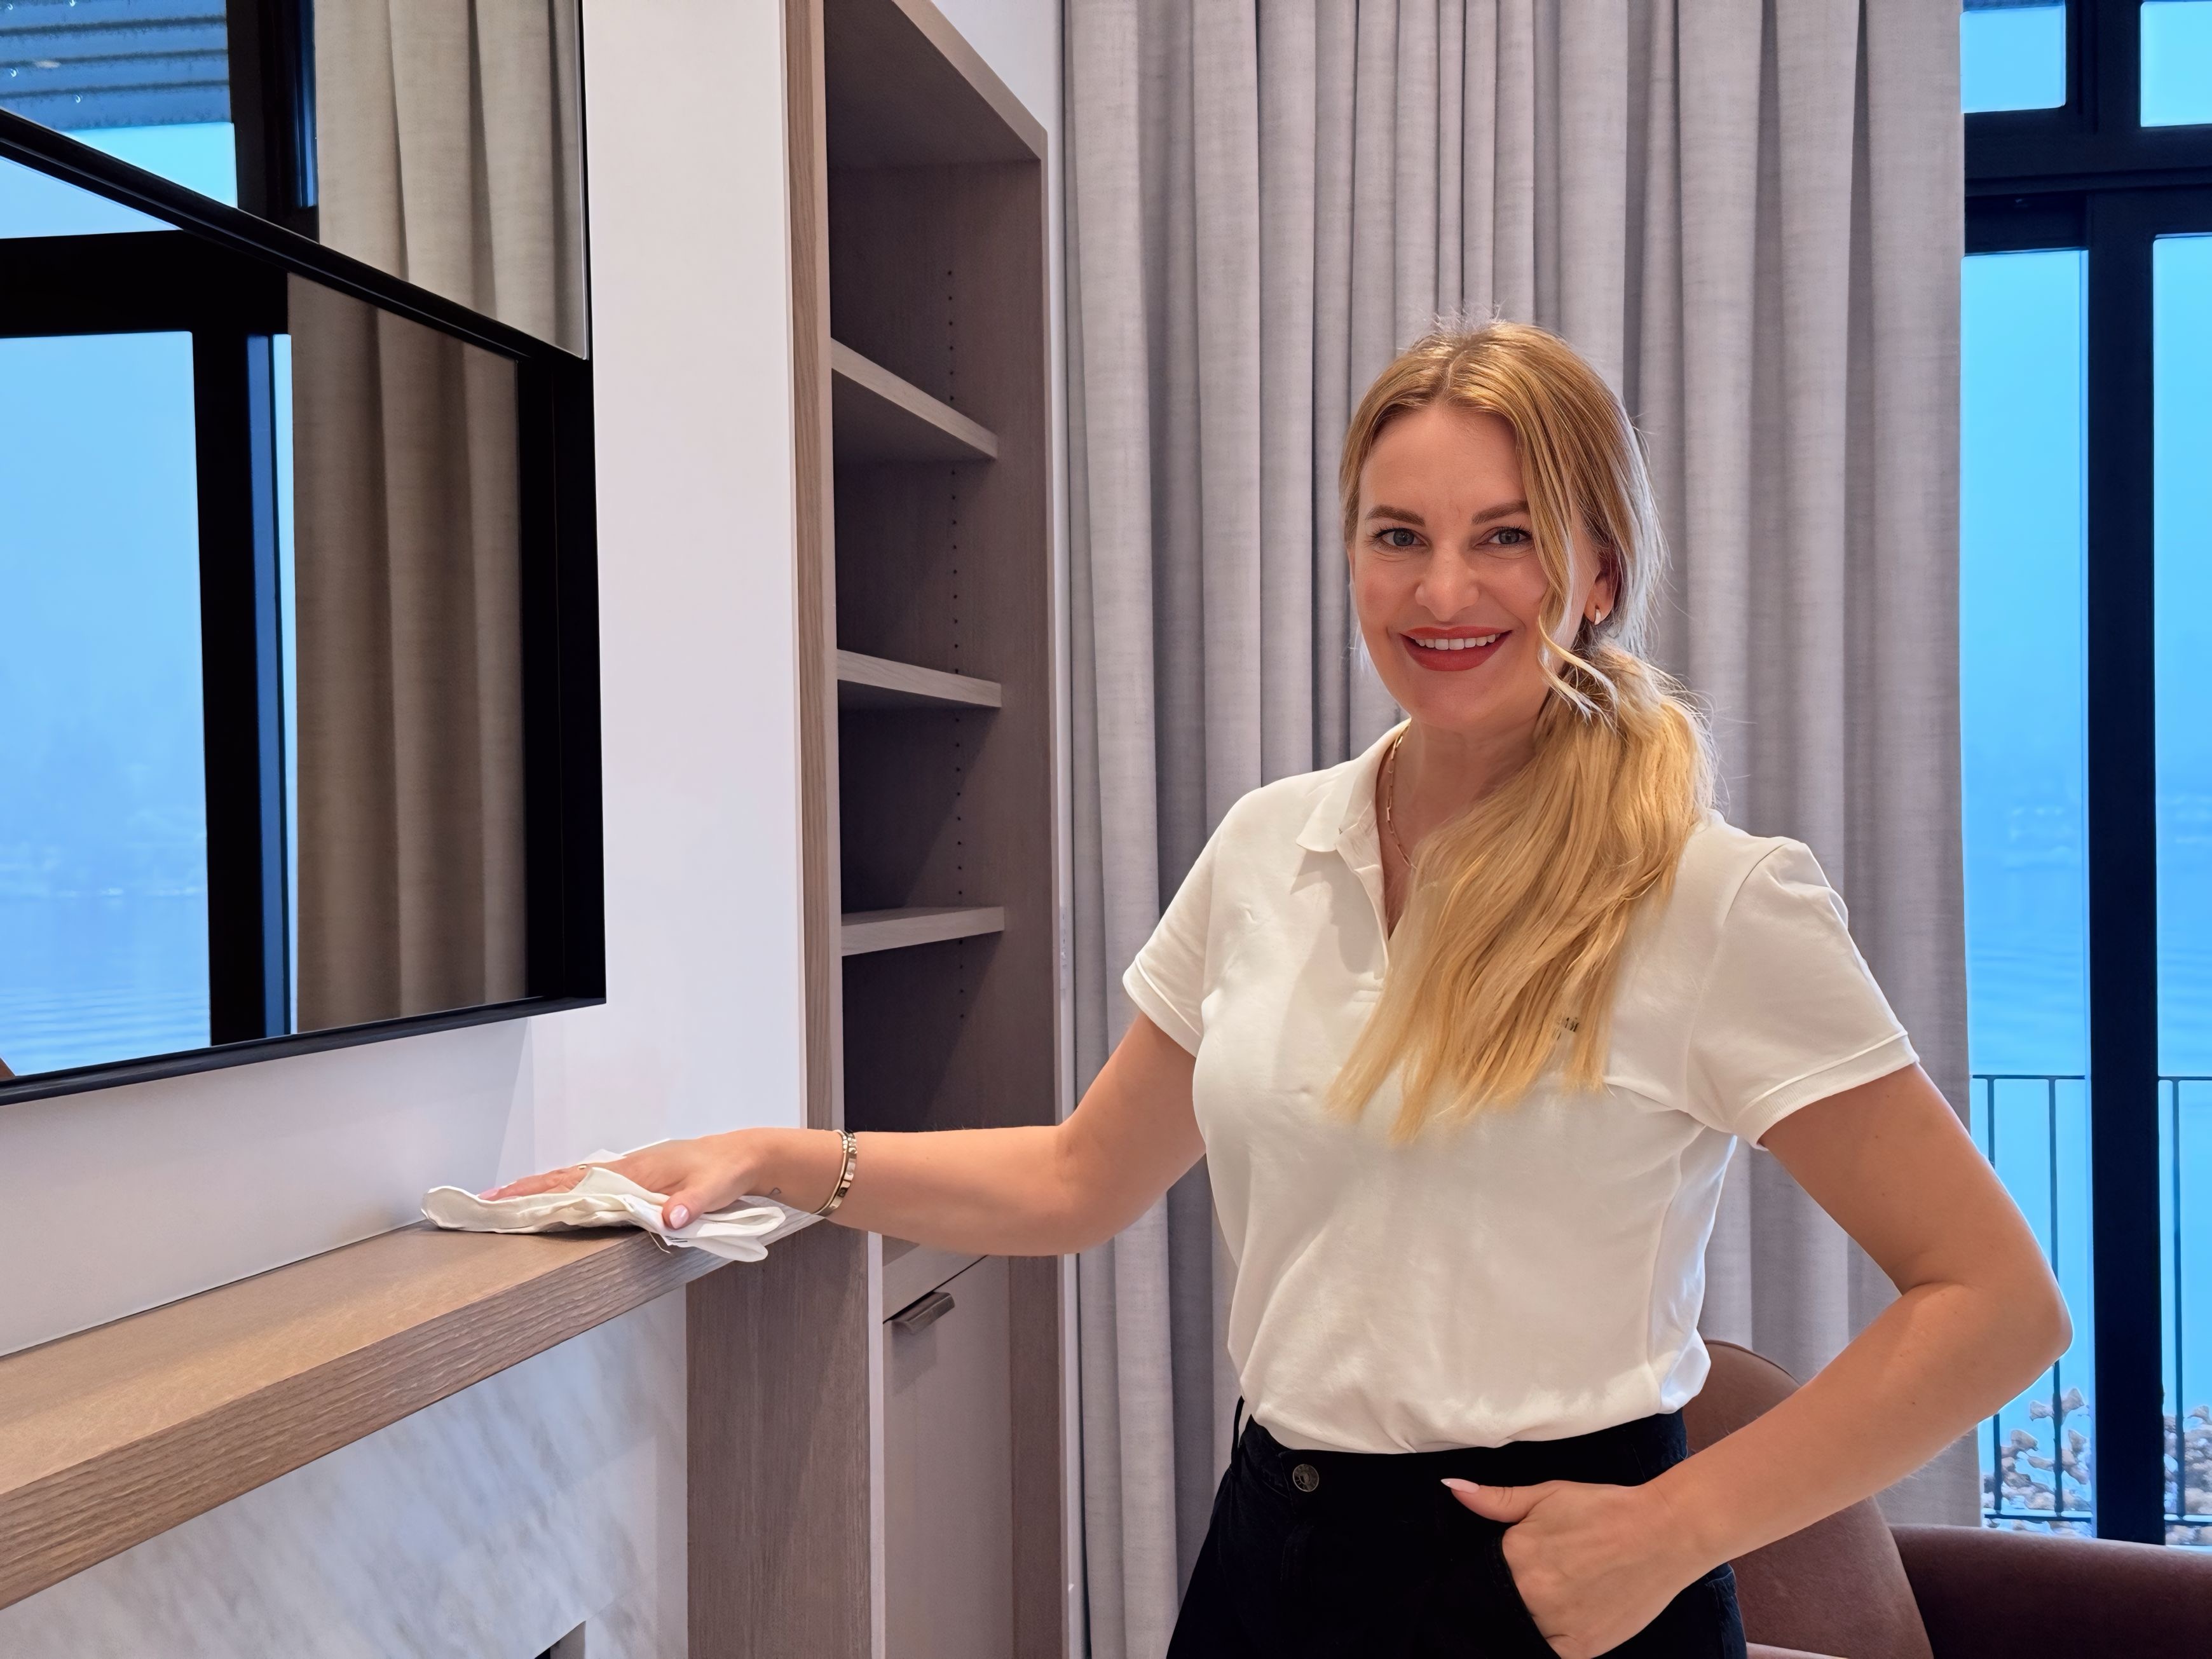
Professional house cleaning services in Seattle typically include dusting, vacuuming, mopping, bathroom sanitizing, and kitchen surface cleaning. Recurring cleaning services focus on maintaining daily areas, while deep cleaning targets baseboards, appliances, and hard-to-reach spaces. Choosing a reliable Seattle cleaning company ensures consistent quality, healthier indoor air, and a well-maintained home.

Fill in the information to receive a quote